Nail Passion

Nail Art is my passion! This blog is all about nails :) I wanted to share my passion with others and be able to connect and follow others who share the same interests! I hope you enjoy my blog :) Feel free to comment, like, share and/or give feedback. (You can also find me on Facebook and Pinterest).

Tuesday, August 19, 2014

OWL NAIL ART/WATER DECALS + COUPON!!

Good afternoon lovelies! I have a fun post for you guys today! :) I've been meaning to share this one for about a week but I've been so busy working I haven't had time to sit down and write the post until now. 

If you follow me on Facebook and/or Instagram you have probably seen this design already, but for those of you who don't, I think you'll really like it :) 

I received a few items from the Born Pretty Store to review and I even have a 10% off coupon for all of my followers :) (Scroll to the bottom for the Coupon Code).


Link to Owl Decals:

I think these owls are adorable! I love the colors they used, so I decided to stick with the same colors for my design.


The colors I used for this design were China Glaze, Street Chic, Def Defying, Sinful Colors, Snow Me White and Savage. To create the Chevron accent nail I used Chevron nail decals from @teismom (you can find her on Instagram).


I really like how this design turned out but I didn't feel that it was complete, so I decided to also use some neon studs I received from the Born Pretty Store to finish it up :)


Link to studs:


(Because I don't have white studs I just painted the two square studs with white polish).


I absolutely love this design! It is now one of my most liked photos :) So Thank you all for that!
I normally am not a big fan of water decals but these were so easy to apply.

If you would like to see my YouTube video on how I did this design you can watch it here: https://www.youtube.com/watch?v=NBgTsG3yO0k

Unfortunately as of right now it can't be watched on Mobile devices...I am looking into how to fix that, but if you watch it on a computer please let me know what you think!


As always thank you for taking a few minutes to check out my post :) If you would like these decals or studs you can find them on the BornPrettyStore website: http://www.bornprettystore.com
This store has a wide variety of nail art supplies such as brushes, dotting tools, makeup sponges, studs, stickers, decals, etc. So I highly recommend you check it out! And please use the Coupon Code:  UTG10


Saturday, August 2, 2014

ABOVE THE CURVE NAIL LACQUER: SUMMER DESTINATION COLLECTION

Hello! As promised I have another post for you :) ...and a few more (really fun ones) still to come! :)
The goodies I will be sharing with you today are 4 beautiful polishes from Above The Curve Nail Lacquer. This is a new Indie Brand to me, I had heard of them before, but I have not tried any of their polishes until now...and I must say that I am very impressed!

One thing I absolutely love about this brand is that they are a cause based Indie Brand trying to help raise awareness for Shriner's Hospitals for Children and Scoliosis. $1 of every bottle of polish sold goes to Shriner's Hospital for Children.

This really means a lot to me that they are raising awareness for scoliosis because I myself have had scoliosis since I was about 8-9 years old. If you would like to learn more about it you can read about it here.

**These products were sent to me for review. Please see me Disclosure Policy listed in the Tabs above.**


These 4 polishes make up the Summer Destinations Collection by Above the Curve and from left to right are: Venice Beach, Boardwalk, Myrtle Beach and Conney Island.


2 coats

Venice Beach is a gorgeous orange polish with orange and gold glitter. The consistency of this polish was amazing! I was very impressed. 


2 coats

Myrtle Beach is such a fun pink! I have quite a few pink polishes but none of them have the fun silver glitters that this one has. Again, the consistency of this polish was very impressive. It applied so smoothly.


2-3 coats

Conney Island is my favorite of the 4...even though there is a blue one! :P I love that this purple has silver and blue glitters! The blue catches your eye and makes you do a double take, because you don't expect to see blue in a purple polish.


3 coats

And last up is Boardwalk. This is such a gorgeous blue (and like I always say I love my blues), but the consistency of this one didn't quite match that of the others. It was a little bit thicker and a little bit more difficult to apply...but overall it is still a gorgeous polish!

So there you have your Summer Destinations! :) Have you gone anywhere fun and exciting this summer? I spent my Honeymoon on Cannon Beach :) But that's the only place I've gone.

If you like this collection, or just a specific polish, you can find them at Above the Curves online shop: http://abovethecurve.bigcartel.com

You can also find them on Facebook and Instagram:
@atc_shawn

Friday, August 1, 2014

BUTTERFLY NAIL ART

Hi lovelies! :) Sorry I've been MIA lately, I just started a new job so I haven't had as much time to post...but I have a few posts lined up for you guys so hopefully I'll be able to post them within the next week. 

Today I'm excited to share with you a beautiful design inspired by Pink Flying Cow 87 on YouTube
(you can see the video tutorial here).


The colors I used for this design were Essie, Fear or Desire, China Glaze, Happy Go Lucky and KB Shimmer, Life Rose On with China Glaze, Fairy Dust over the top.

The black is hand panted using acrylic paint and a small nail art brush, and the white dots were done with a dotting tool and white acrylic paint.


I absolutely love the way this design turned out! I fall in love with a majority of the Nail videos Pink Flying Cow posts, so when I saw this design I knew I had to recreate it :) I love that it's a different kind of butterfly nail art then what a majority of other nail artists (myself included) have done.

What do you guys think? Do you like this style of Butterfly Nails, or do you prefer the other way?

Thursday, July 17, 2014

ADVANCED STAMPING/STRAWBERRY NAIL ART

Hello there! :) I am so excited to be sharing with you guys some Nail Art! That hasn't happened in awhile! :P I apologize it's been so long since I have shared any nail art, I have been going through a mani block (what I call writers block for nail artists LOL)...but I'm slowly coming out of it! Wahoo!

 I am really excited about this nail art because it's advanced stamping...which is a technique that I love! But have had a hard time with myself. After watching countless YouTube videos and a few attempted fails, I finally found a way that works for me, thanks to Nailstamp4fun! Her way of doing advanced stamping is pretty easy and not as time consuming as some of the other ways. I highly suggest her videos :) And I think I'll post my own video of this mani on my YouTube account as soon as I can (Here is the link to my YouTube: Playful Polishes).


The polishes I used for this design were Sinful Colors, Easy Going (light pink base), Black on Black, Exotic Green, Liquid Sky Lacquer, Coral You Later and Zoya, Miranda. The stamp is Winstonia 118.

Once I had stamped on the design it didn't quite feel done...I felt like it was missing something, so I added some black dots to make the design pop and complete the look!


What do you think!? Do you like it better with or without the dots? :) I prefer the dots. They just pull the mani together.

Thanks for taking a moment to check out this short post :) I hope that I can film a video for you guys on how to do this style of advanced stamping, but in the meantime check out Nailstamp4fun's videos :) She has awesome manis!

Thursday, July 10, 2014

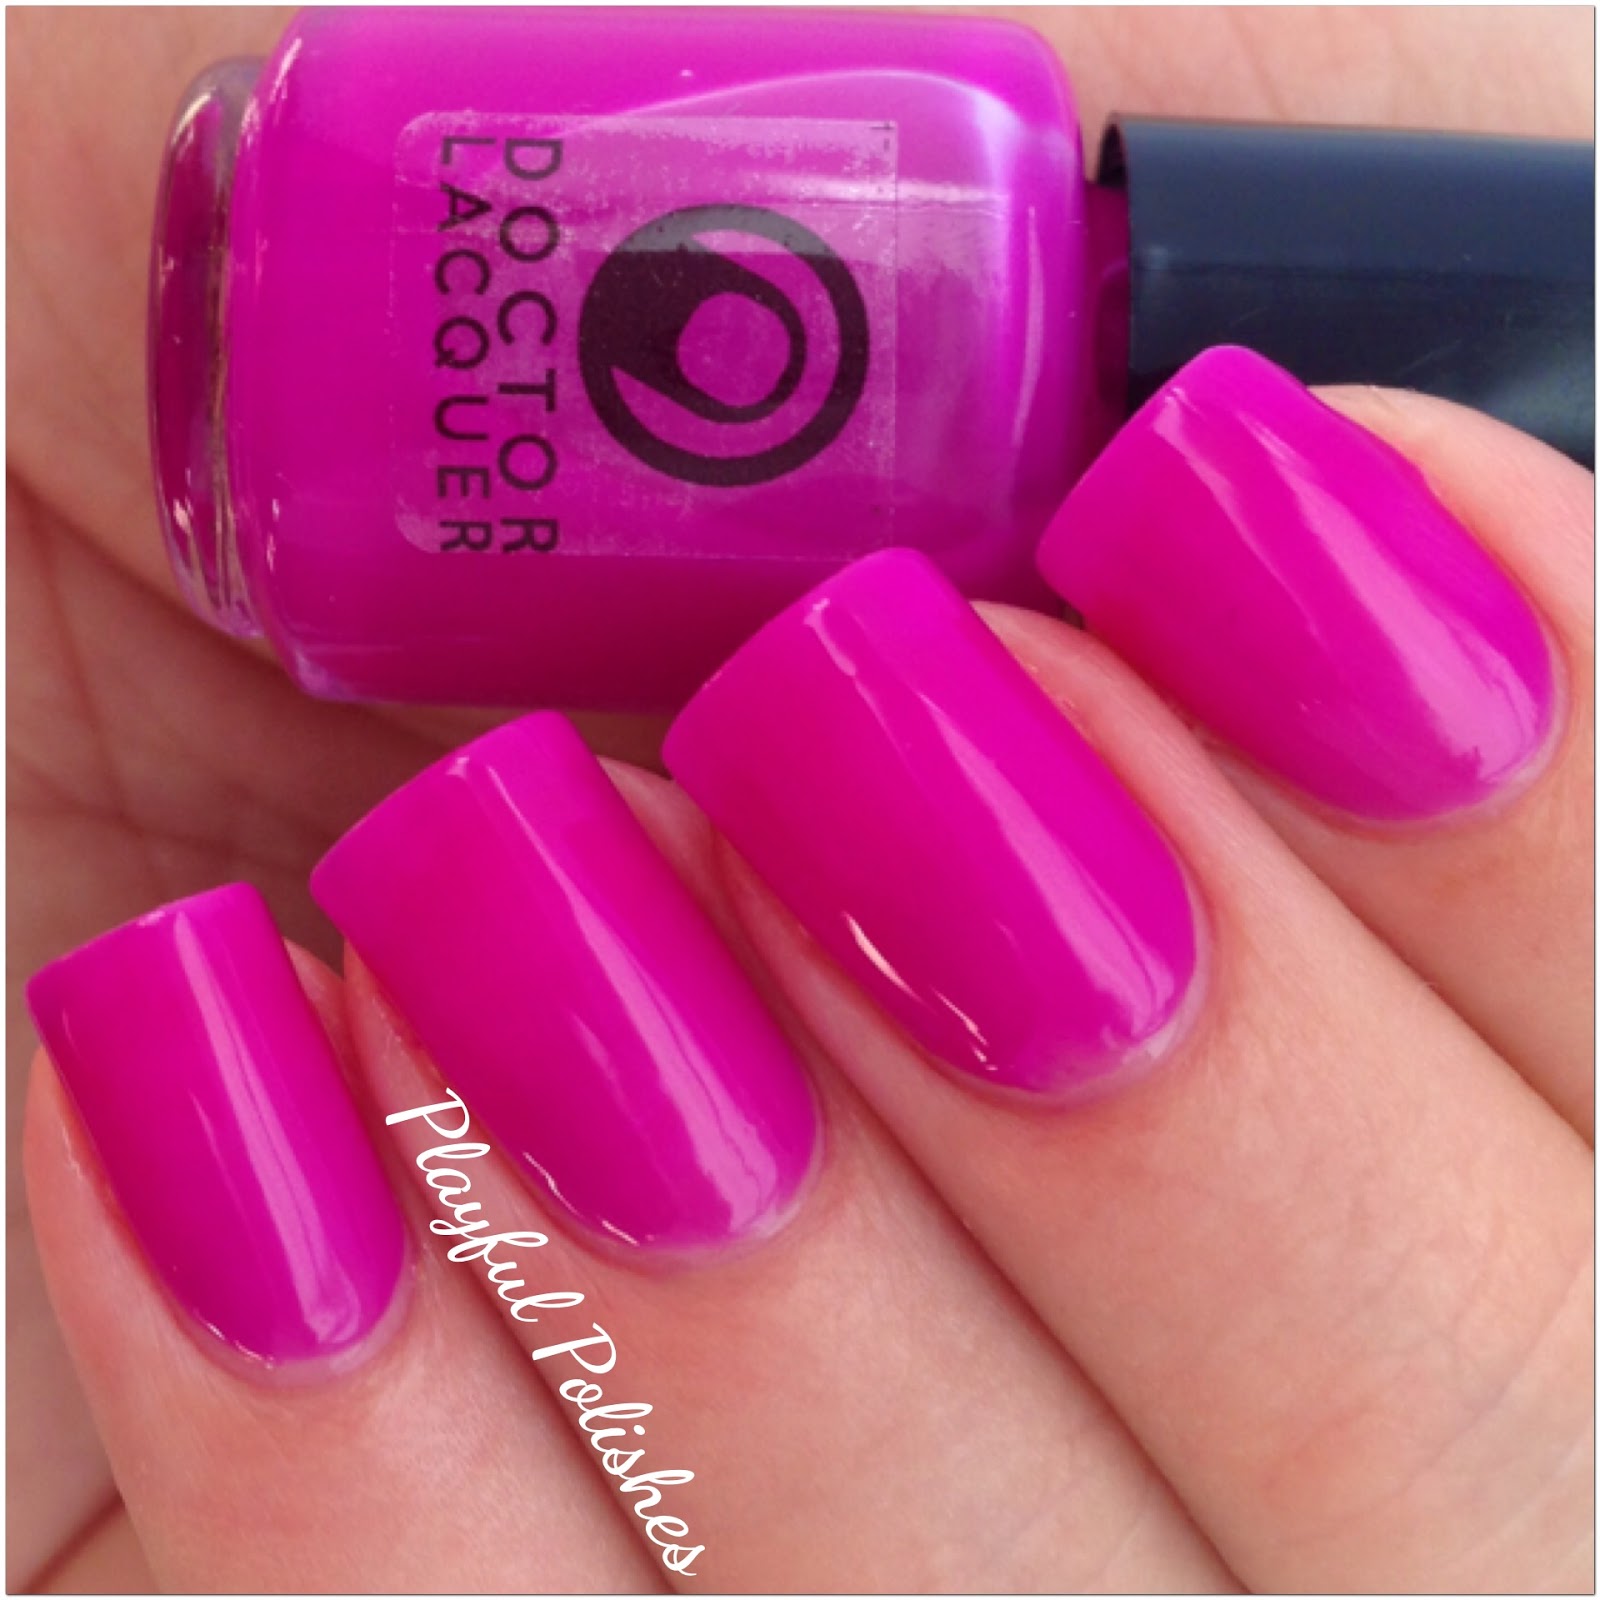
DOCTOR LACQUER (NEON/JELLY) KALEIDOSCOPE WORLD COLLECTION

Good afternoon lovelies! :) I hope you are all having a great week! Today I have some beautiful neon jellies to share with you from Doctor Lacquer's new Kaleidoscope Collection :) 

I was so excited to receive these from Doctor Lacquer right before the wedding, and it's been killing me to have had to wait this long to swatch them (wedding, honeymoon, etc. :P) but I finally did it and I love them! 

Just before I get to the swatches I want to say that these polishes should be swatched over a white base color just to help with opacity and to make them pop! But, unfortunately my white polish wasn't behaving for me so I just applied a few coats of each color to my liking.

**These polishes were sent to me for review. Please see my Disclosure Policy listed in the tabs above.**


3 coats

Up first is Lutein. This is a really fun, and extremely bright neon yellow :) I'm sure with the white coat underneath, all of these polishes would only need 1-2 coats, but this is 3 with no white coat. I wish my white polish would have behaved because the swatches could be brighter and pop more, but either way in my opinion these polishes just speak for themselves :P


3 coats

Carotene is more of a Sunflower yellow in person, even though these photos show it as more of a light orange. I like both looks of it :)


2 coats

This beautiful color is Lycopene, which is actually more orange than red, but again the photo kind of alters the color...either way it's still gorgeous :) 


2 coats

At first glance this one, Annato and the next one, Hemoglobin look like they could be dupes, but Annato is more of a bright candy colored pink, whereas Hemoglobin is more of a pink with purple undertones.


2 coats

Can you see the difference? Hemoglobin is so pretty! They both are! I really like that even though these are jellies which are usually not very opaque, the 2 pinks and the orange were opaque in 2 coats without a white base coat.


2-3 coats

Betalain is stunning! I love the way this color looks against my skin tone.


3 coats

Blue! You all know I love blue! :) Phycocyanin reminds me of cotton candy blue for some reason...or just blue candies in general. LOL, I'm not sure which now!


3-4 coats

And last up for the jellies is Chlorophyll. I love this one so much I kept it on once I was done swatching :) ...even though this one took 3-4 coats the thing that I loved was that these polishes dry so fast! Each coat is so thin that I don't have to wait long to apply another coat, plus adding more coats doesn't really make the polish to thick on my nail like regular polish.


2 coats

And last one for this post, this is Refraction an absolutely beautiful, fun neon glitter topper! This is the perfect polish for summer :) The combination of this plus any of these neon jellies is so fun! They are bright and bubbly and I could seriously wear them all summer!

I did get another polish that goes along with this collection, Reflection which is a silver chrome holo. I didn't get a chance to swatch it just yet because I lost my lighting, but I'll come up with some fun designs with it for another post :)

Thank you for taking a few minutes to look over this post, I hope you enjoyed it! Thank you to Angelyn, from Doctor Lacquer for sending me these polishes! I absolutely love them!!
If you liked these polishes make sure check out Doctor Lacquer on Facebook and Instagram:
https://www.facebook.com/doctorlacquer?fref=photo, @doctorlacquer. She also has the twin set to these polishes, which are the same colors but all holo = HEAVEN!! :P


Extra photo just for fun...here is a fun design (inspired by Madam Luck) that I did on my mom before she left, using some of the colors shown above :) 

Saturday, July 5, 2014

MY WEDDING (A FEW PICS) 6/21/14

Hello! I hope you all had a fun and safe Holiday and are still enjoying your weekend :) I just wanted to share a few photos with you guys from my wedding. I have a lot of polishes to swatch during this next week so you should have a lot to look forward to but I figured since I haven't posted in a few weeks I'd just show you guys a few wedding pics :) I hope you enjoy the pics!


And of course my nails :P 


The polish I used was Miss Unis by Sassy Cats Lacquer.

Thank you for taking a moment to look through my pics :) If you like them (even though most of these are from a camera phone, please take a moment to check out my cousin's (my photographer) Facebook: Felicia Taylor Photography. She also has more pictures posted there :)